
Last updated November 18, 2026
 Hardwood
 Engineered hardwood
 Luxury vinyl plank
 Laminate
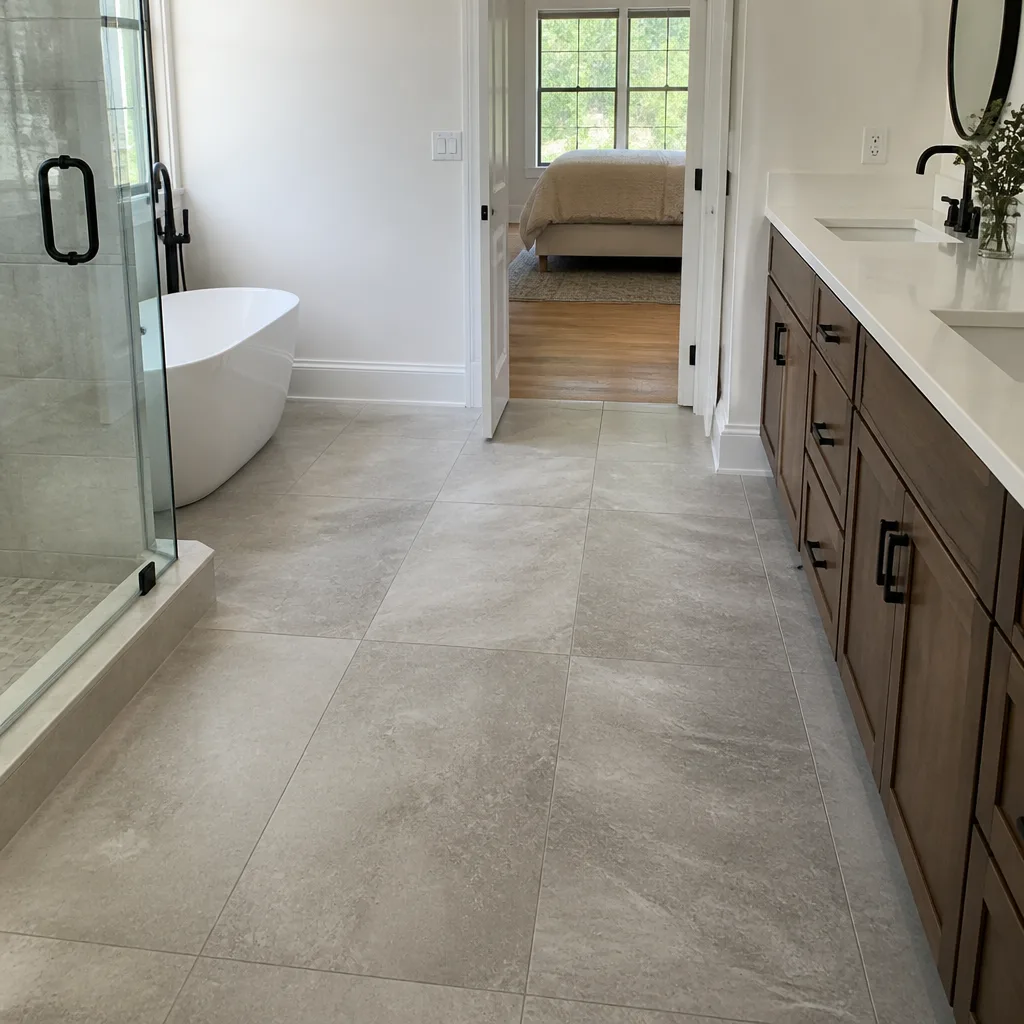 Porcelain tile
 Carpet
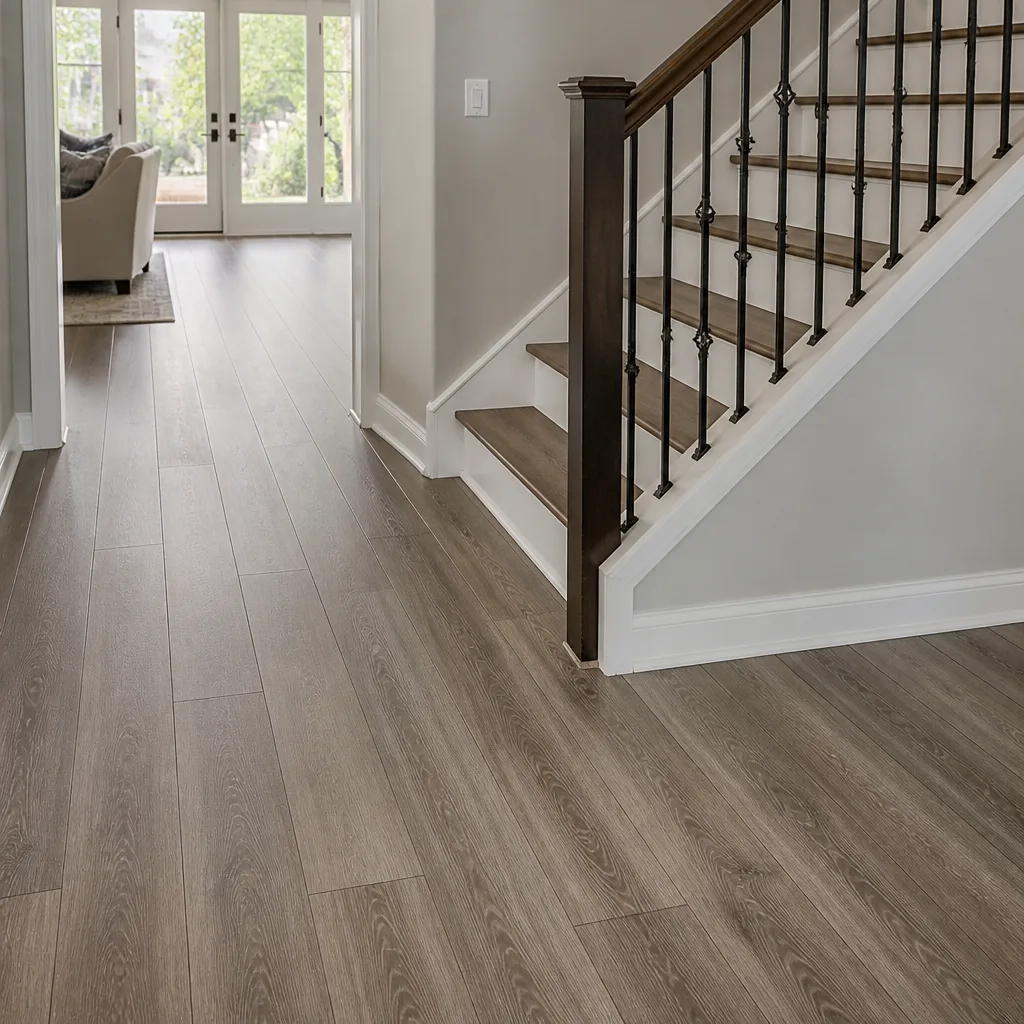 Shaw
 Mohawk
 COREtec
 Pergo
Free in-home measure and written estimate: Shaw, Mohawk, COREtec and Pergo lines compared on your own rooms, with carpet, tile, vinyl plank, laminate and hardwood laid out side by side
Get your free estimateHow to Prepare Your Home for a Flooring Installation in Enterprise
Here’s the part of a flooring project nobody puts on the mood board: the prep work. A crew that arrives to a house full of furniture, doors nobody measured for clearance, and baseboards the contract never mentioned will spend the first part of the day doing work you either pay for or argue about. None of that friction is about the floor itself. It’s about what happened before demo day. This guide walks through the prep that actually moves a project forward in Enterprise, Nevada – from staging your rooms to the desert-specific detail most homeowners miss, which is how low humidity treats wood-based flooring while it adjusts to your home. You’ll leave with a checklist, not a wish list.
Quick Answer
To prepare for a flooring installation in Enterprise, clear every movable item from the work area the night before, remove and label your baseboards if the contract says you’re responsible for them, plan door clearance ahead of time, and let wood-based materials sit in your home so they can adjust before install day. Run your heat or AC at normal living temperature for at least 48 hours before the crew arrives. Confirm pet and child arrangements, and know your re-entry window, because adhesives and seams need time to settle in desert heat.
Styles & brands we work with
- Hardwood
- Engineered hardwood
- Luxury vinyl plank
- Laminate
- Porcelain tile
- Carpet
- Shaw
- Mohawk
- COREtec
- Pergo
Table of Contents
- Furniture and Staging: What You Move and What the Crew Handles
- Acclimation in Enterprise’s Low-Humidity Climate
- Baseboards, Door Clearance, and the Decisions You Should Make First
- HVAC and Temperature: The 48-Hour Rule
- Pets, Kids, and Re-Entry Timelines
- Reading Your Contract Before Demo Day
- The Night-Before Checklist
Furniture and Staging: What You Move and What the Crew Handles
This is the single biggest source of day-one confusion on any Flooring Installation Enterprise project. The line between “the crew will handle that” and “you’ll want to handle that” should be drawn before the written estimate is signed, not when the first box of vinyl plank gets opened.
In our experience, the split looks like this. A crew focuses on flooring demo, subfloor prep, cutting, and installation. Furniture is not their job unless the estimate explicitly says it is. So you’ll want to sort your rooms into two piles: what stays and what leaves, and where it leaves to.
What the crew typically handles or addresses:
- Moving the old flooring material out of the work area once it’s been demoed
- Subfloor checks and surface prep before any new material goes down
- Setting the new carpet, tile, or plank over the approved surface
- Clearing working space once the room is empty
What you should plan for yourself:
- Removing all furniture, rugs, and decor from the work area
- Emptying closets adjacent to carpeted or tiled rooms
- Disconnecting electronics, wall-mounted items, and anything fragile
- Securing anything breakable on adjacent shelves or in the next room
Here’s the part most people underestimate: large, heavy, or built-in furniture needs a third party – a moving company, a furniture moving service, or a couple of friends who don’t mind getting their hands dirty. A piano, a safe, a built-in bookcase, or a piece you’ve never moved since you bought the house is not something to hand off to a flooring crew. Plan that help in advance, not the day before.
Cars and driveways count too. If the crew needs space to stage materials, make sure your driveway and garage get cleared enough to accommodate it. Materials need to sit somewhere dry and protected during the work, particularly if you’re installing tile flooring installation, which comes in as stackable boxes and needs room to breathe.
The night before, do a final walkthrough of your staging area. Every room in scope should be empty, and everything removed should be staged somewhere it doesn’t need to be moved again during the install. If you’re not sure whether a piece of furniture should move, ask before demo day – not after.
Acclimation in Enterprise’s Low-Humidity Climate
Acclimation is the period when flooring material sits in your home before it’s installed, letting it adjust to your interior conditions. In most places, that’s a routine step. In Enterprise, it matters more, because desert humidity swings are dramatic between morning and afternoon, and wood-based products respond to that swing.
Enterprise is in the Las Vegas Valley, inland and dry. Relative humidity often sits well below what you’d see in coastal or midwest markets. That changes how wood, engineered hardwood, laminate, and some plank products settle after they’re brought indoors and again after they’re installed. Material cut and acclimated elsewhere can behave differently once it’s in your home if the interior environment is different.
Why it matters for wood-based products:
- Hardwood and engineered hardwood are sensitive to humidity swings. Acclimating to your home’s conditions before install helps reduce the chance of gaps, cupping, or joint stress after the floor is put down.
- Laminate like Pergo responds to humidity and temperature in the room during the acclimation period. Boards that aren’t fully adjusted can lead to uneven seams or clicking.
- Vinyl plank such as COREtec or LifeProof is generally more stable, but the subfloor and the room temperature still affect how it locks together. Acclimation guidance for vinyl products is more about temperature than moisture, but it’s still worth following.
How long should materials sit in your home before install? It depends on the product. Some lines want 48 hours, others want up to 72 hours, and some premium products have specific guidance from the manufacturer. The right answer is always: check the product instructions and confirm with the installer. Your written estimate is the place to write down what acclimation window applies to the product you chose.
Where the material sits matters too. Staging it in a hot garage or on a covered patio isn’t the same as staging it in the room where it will be installed. Ideally, the boxes sit flat and stacked in the room being floored, in normal living conditions, off the concrete, and out of direct sun.
If your home is newer and you’re still adjusting to what low humidity means for interiors, ask us at the estimate visit. The acclimation window we book is tied to the product line – whether that’s COREtec, Pergo, LifeProof, or another line – and to the room’s conditions. Guessing tends to cost more than asking.
Baseboards, Door Clearance, and the Decisions You Should Make First
Two small details, decided ahead of time, keep a whole installation from slowing down on day one: baseboards and door clearance. Both are usually buried in the fine print of a written estimate. Both cause real friction if they’re not decided before demo.
Baseboards: The usual approach is to remove and reinstall existing baseboards so the new flooring can be installed underneath them cleanly. That’s not automatic – it depends on the flooring type and the room. With thicker carpet, sometimes the original baseboards can stay because the pile hides the seam. With tile or thick plank, the baseboards usually need to come off. Removing them is often faster and less damaging than trying to cut around them.
Decide in advance:
- Do you want existing baseboards saved and reinstalled, or replaced with new ones?
- Are you repainting the trim after installation? (A great time to do it, while the baseboards are off.)
- Who is removing the baseboards – you or the crew?
- How are the baseboards labeled so they go back in the right rooms?
If the crew is pulling and reinstalling your baseboards, write it into the estimate in plain language. “Remove and reinstall existing baseboards” should be a line in the contract, not a verbal understanding.
Door clearance: A new floor changes the height of your finished floor, and doors that fit before may catch after. That includes interior doors, closet doors, pocket doors, and anything with a tight swing. Get clearance measured before demo, not after installation.
Door clearance outcomes fall into three buckets:
- Enough clearance – the door still swings free with the new floor installed.
- Trim the door – a small amount can be taken off the bottom of the door itself.
- Trim the jamb or adjust the frame – more invasive and needs to be planned.
Walk through the house before demo day and check every door in the rooms that will get new flooring. Note any that are stiff, have less than a comfortable gap under them, or scrape on the current floor. Bring the list to the estimate visit and get the door approach written into the written quote. A door adjustment is a quick task when it’s on the schedule and a real headache when it’s discovered mid-install.
The same logic applies to trim, shoe molding, and thresholds between rooms. If you’re changing flooring type at a threshold – carpet to tile, for example – the transition detail should be specified in the estimate, not improvised on-site. Tile needs height planning at every threshold, which is one reason premium tile work is worth scheduling with a conversation rather than a same-day swap.
HVAC and Temperature: The 48-Hour Rule
Your HVAC isn’t just comfort during a flooring project. It’s part of the installation. Adhesives, plank locking systems, and specifically wood-based products perform best when the home is at a normal living temperature during install and after, not when you’ve turned the system off because the doors are open for demo.
What “48 hours before” means in practice: at least two days before the crew arrives, set your heating or cooling to whatever temperature you’d normally run for comfortable living. Winter in Enterprise still sees cold nights, and summer afternoons can get well past triple digits in the valley. During those extreme swings, the interior of your home can fall out of the range the material needs.
Keep the HVAC running through install. Even with doors open and traffic in and out, the system should be on and set for occupancy, not switched off. If you’ve been cooling your house to 65 degrees because you like it cold, that’s fine; just keep it consistent. What matters is that the room isn’t 90 degrees one day and 60 the next.
Why consistency matters:
- Adhesives – carpet, vinyl, and some tile products are set with adhesives that cure best under stable temperature and humidity.
- Wood-based flooring – dimensional movement is slower and more predictable when conditions are stable.
- Tile and grout – extreme heat can push a grout or thin-set cure too fast, which affects the result.
- Plank systems – vinyl and laminate click together best at normal room temperatures.
If you’re going to be away during the install, set the system before you leave and ask the crew what they need from you while they’re working. Running the HVAC isn’t optional prep – it’s the part of the environment the install depends on.
Also plan light air movement. A box fan pushing against an air conditioner vent or a door propped open to the yard during July is a different interior than one that’s cooled at normal settings. In the desert, “I’ll just open the windows for airflow” usually makes things worse during install week. Keep them closed and let the HVAC do its job.
Pets, Kids, and Re-Entry Timelines
The flooring is getting installed. The whole house has to function while it’s happening. Plan for both. This is where a lot of otherwise well-organized projects get tripped up: nobody thinks about where the dog is going to spend the day, or whether the kids can come home from school at 3pm.
Pets: Preschedule a plan for where your pets will be while the work area is active. Options that work:
- Closed in a room away from the work area, with water and a bed
- Boarded at a daycare or a friend’s house for the day
- With a family member somewhere else for the duration
The instinct on install day is often “the pet will be fine.” Then the door opens, someone drops a utility knife, and suddenly the dog is in the middle of a wet adhesive area or a stack of tile. Plan ahead so nobody is running after an animal with a trowel in their hand.
Kids: Same idea. Preschool and school kids need to know where they can go and where they can’t. If a room is off-limits, put a physical barrier up. If they’re going to be home during install, work out a re-entry plan that doesn’t put them across fresh adhesive or grout.
Re-entry timelines: This is where being specific with your installer pays off. The re-entry window – when you can walk on the new floor, put furniture back, or move pets back in – depends on the material:
- Carpet cures relatively quickly; light foot traffic is usually fine within the same day of install.
- Vinyl and laminate generally allow normal foot traffic right away once installed, but heavy furniture placement may need a little delay.
- Tile needs grout to set before heavy traffic, particularly on large-format tile installed over a fresh thin-set base.
- Hardwood finish (if you’re refinishing) needs more curing time before furniture goes back.
In desert heat, adhesive and grout can cure quickly, but that’s not automatic – it depends on product, room, and conditions. Ask your installer for the re-entry window for your specific product in writing, so you have a reference point. “When can we put the couch back” is a two-sentence answer at the estimate, and a three-hour headache if nobody asked it. Plan that around the products you chose – Pergo and LifeProof have different handling than Mannington carpet or COREtec plank.
If you have an urgent re-entry constraint – like a bedroom that must be back in service by a specific day – say so during the estimate. We can work with you on scope and sequencing to fit the schedule you actually need.
Reading Your Contract Before Demo Day
A flooring contract is the document that decides who does what on install day. Read it before you sign, and especially before demo day. The things you’re looking for:
- Materials specified – product name and brand, as chosen from the lineup (Shaw, Mohawk, COREtec, Pergo, LifeProof, Mannington, Armstrong, Daltile, Karndean). If it says “vinyl plank, premium” with no brand, ask for a specific line.
- Furniture removal – explicitly in or out of scope. If it’s not written, assume it’s yours.
- Baseboard removal and reinstallation – in or out of scope. If it’s out, plan for you to do it.
- Old flooring removal – who’s hauling it away?
- Subfloor preparation – who’s responsible for fixing dips, cracks, or uneven surfaces before new flooring goes down?
- Stair work – if stairs are involved, confirm whether they’re in the scope and how they’ll be handled.
- Thresholds and transitions – explicitly named per room, not left to improvisation.
- Acclimation timing – who stages materials in your home, and when.
- Walkthrough timing – when do you and the crew lead walk the finished floor together?
If any of these is missing from the written estimate, ask before signing. A written quote protects you and it protects the job. If you’re looking at the full scope of services across carpet installation and tile in the same project, ask that each room’s scope be listed separately so nothing is assumed.
Flooring Installation Enterprise offers free estimates in Enterprise – this is the right time to walk the house together and get every one of these questions answered in writing. Call (844) 560-4386. We answer 24/7. Fast dispatch from 7am to 7pm, Sunday through Friday.
The Night-Before Checklist
The night before install day is when all the preparation pays off. A clean, cleared house on install morning means the crew starts productive work right away instead of spending the first hours moving furniture. Here’s the checklist:
- Empty all work areas. Furniture, rugs, wall art, and decor out. Nothing left that gets in the way.
- Clear closets in any room with carpet or tile being replaced. Empty them fully.
- Move pets to their planned location for the day.
- Confirm kids’ schedules – school, after-school, where they’ll be.
- Stage any materials in their final acclimation location, per the estimate instructions. Off the bare floor, out of direct sun.
- Set HVAC to normal living temperature and leave it running. Confirm it’s been at that setting for 48 hours.
- Clear driveway and garage enough for the crew to stage materials and move in and out.
- Label your baseboards, if you’re pulling them yourself, so they go back in the right rooms.
- Note any door clearance issues your crew lead should look at first thing.
- Charge your phone – you’ll want to be reachable during the install.
A quick walkthrough the night before – with the estimate in hand and the checklist in your other hand – catches more than you’d expect. Anything that can’t be resolved from the checklist, ask about before morning. Enterprise homeowners who’ve done this once usually find the second project takes half the mental load. It’s just a checklist.
Common Mistakes to Avoid
- Assuming furniture removal is included. If it’s not in the written estimate, it’s not included. Ask before signing.
- Staging materials in the garage during a heat wave. Desert garages get hot enough during summer days in the Las Vegas Valley to put the material through swings it wasn’t designed for. Stage inside your home where the install will happen.
- Turning off HVAC to “save energy” while doors are open. Install week is not the week to economize on climate control. Stable temperature is part of the job.
- Leaving baseboard decisions to install morning. If you don’t decide ahead of time whether they’re being pulled, reinstalled, or replaced, the crew has to improvise. That’s not how you want to start.
- Not checking door clearance for the whole house. Every door in the install rooms should be checked. A door that rubs, catches, or sweeps the new floor is a real problem after the fact and a simple fix before.
- Forgetting the pets. A pet underfoot in a room with wet adhesive or a stack of tile is a safety issue for the pet and a problem for the install. Plan ahead.
- Not asking about re-entry timing. If you need to know when furniture can go back or when the room is usable, ask during the estimate. The re-entry guidance depends on the product, and getting it in writing beats guessing.
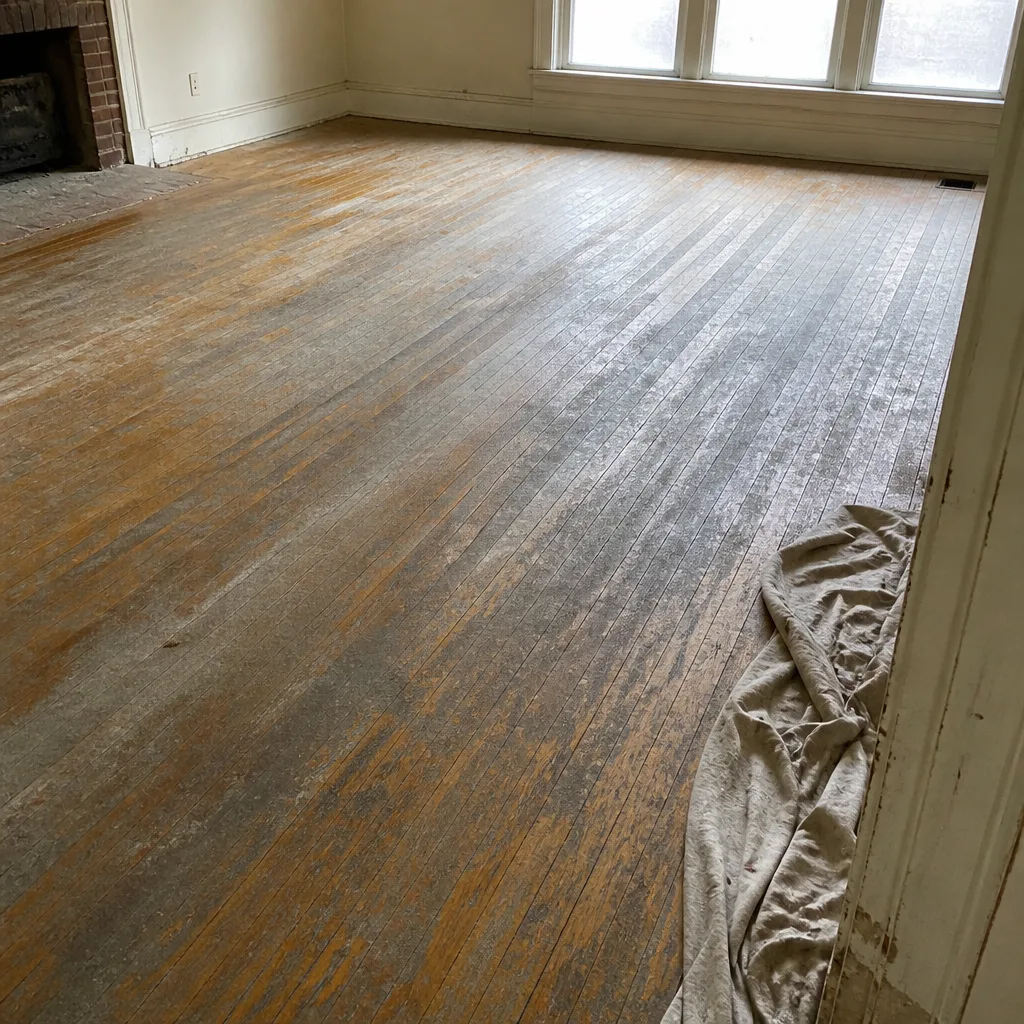
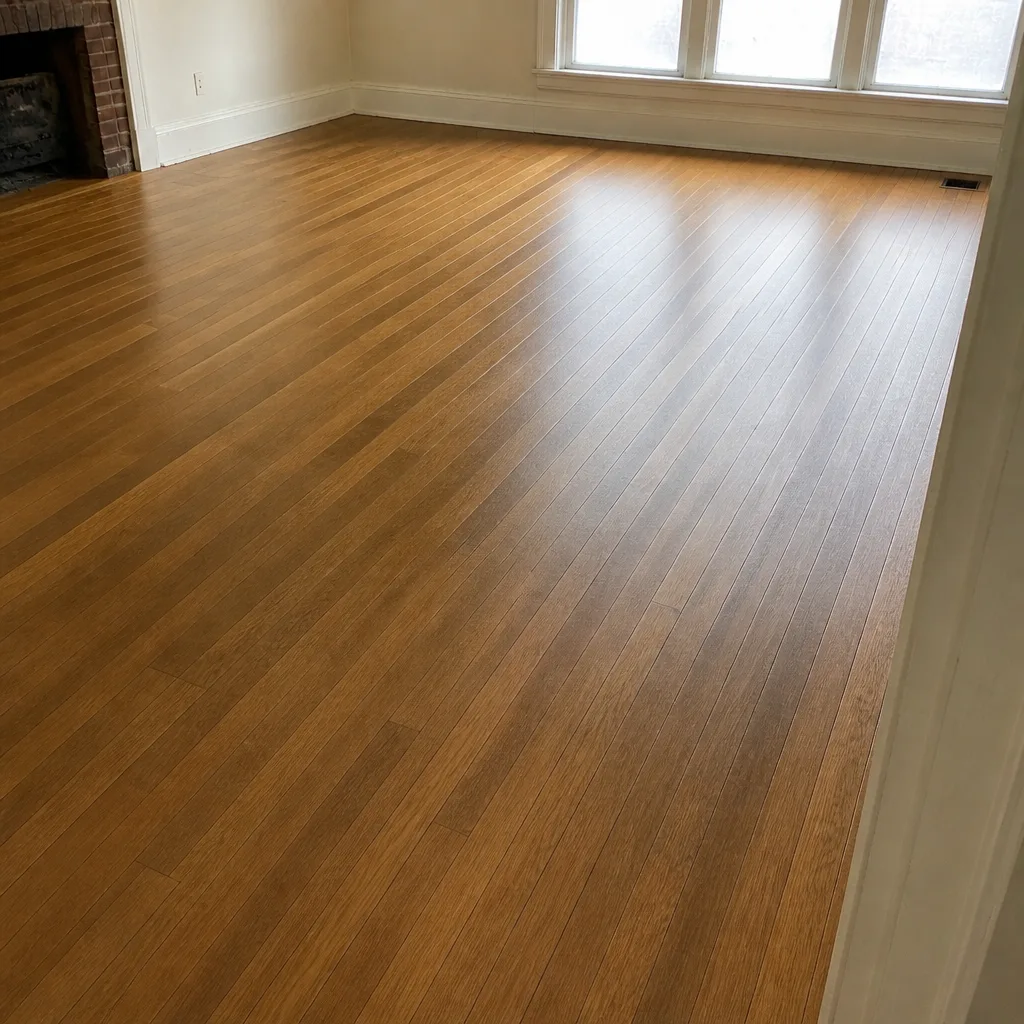
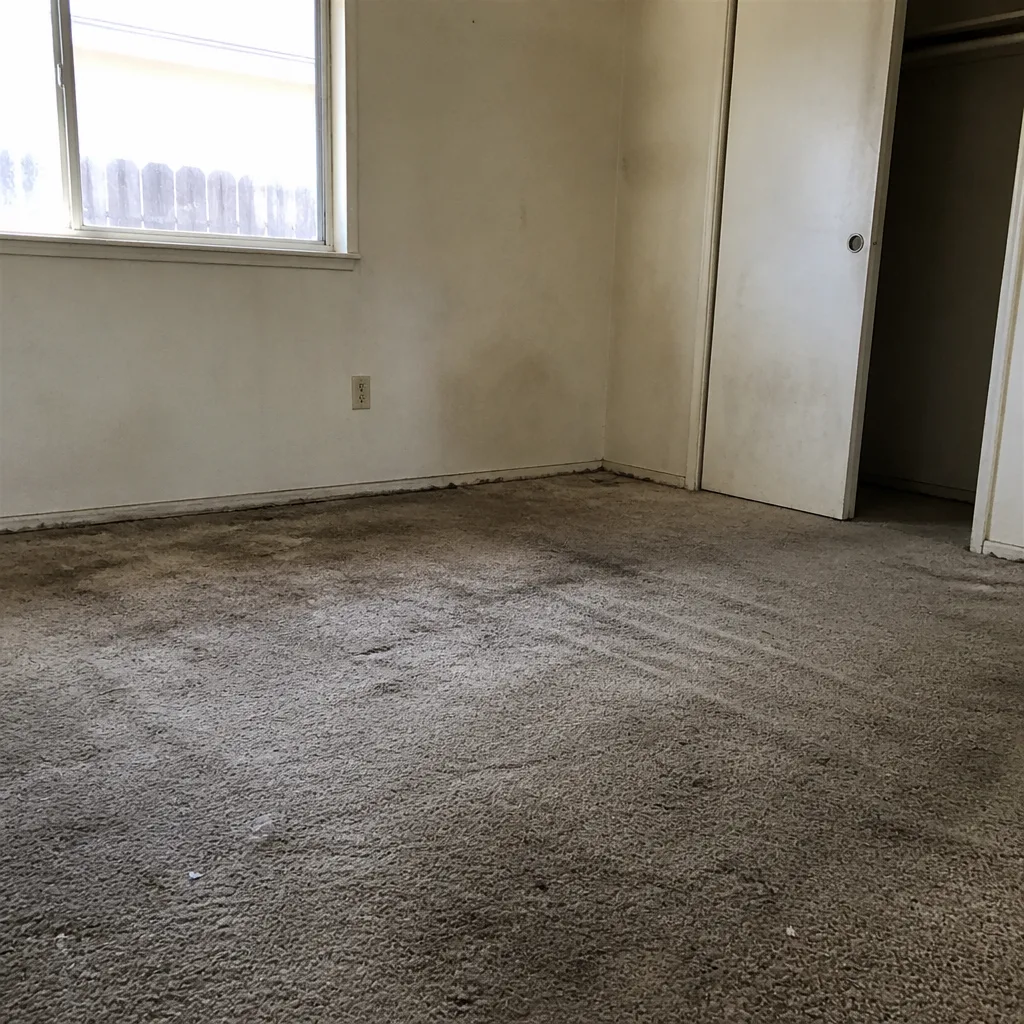
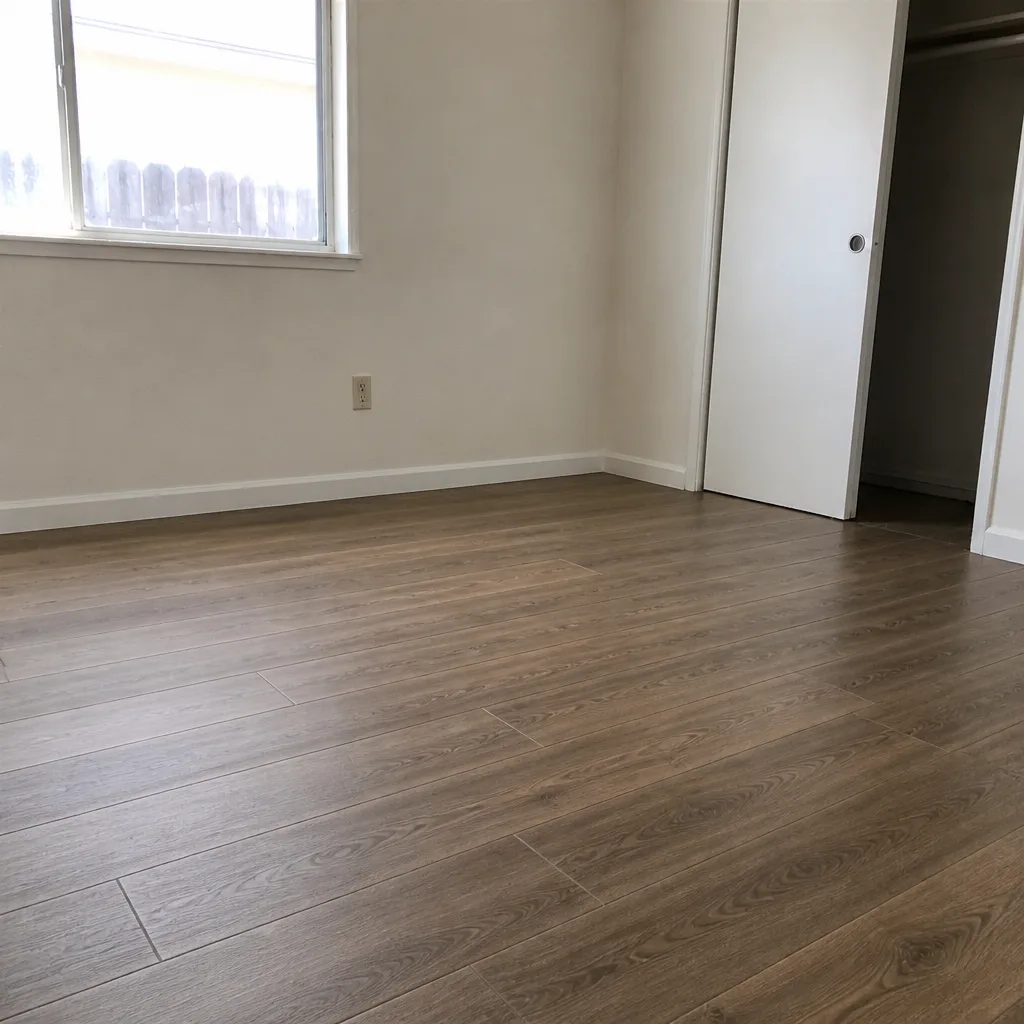
See the difference
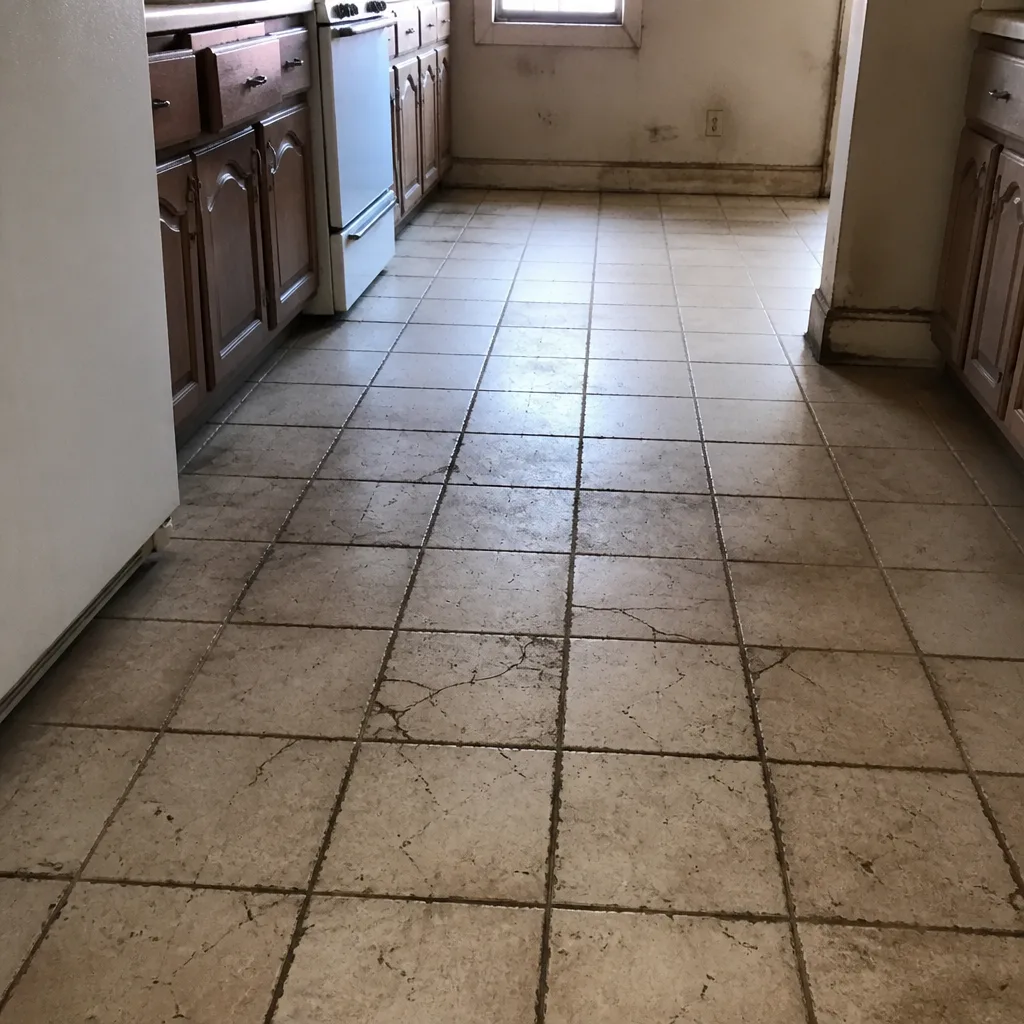 Before
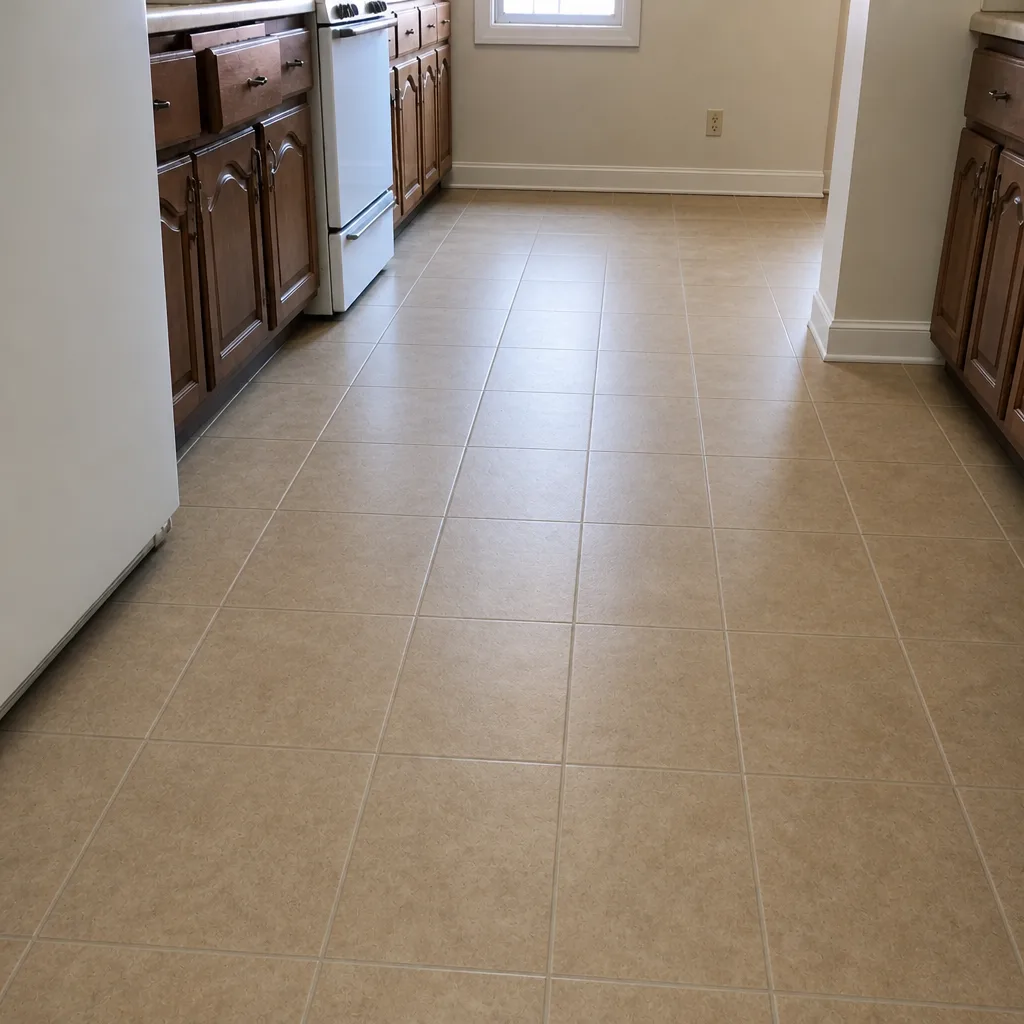 After
 Before
 After
 Before
 After
When to Call a Professional
You can do a lot of prep yourself. But the actual installation has parts that belong with a professional. Any project that involves tile – especially large-format tile from a line like Daltile – needs an installer who knows how to lay out a room, deal with the subfloor, and handle the adhesive and grout correctly. Hardwood refinishing has its own demands: sanding, staining, and finish application. And any whole-home flooring project that crosses carpet, tile, and hardwood is easier with one accountable source rather than three different contacts. Flooring Installation Enterprise offers free estimates in Enterprise – call (844) 560-4386. We answer 24/7. Fast dispatch from 7am to 7pm, Sunday through Friday. We’ll walk the house with you, answer prep questions, and put everything we discussed into a written estimate.
Frequently Asked Questions
Yes, all movable furniture needs to be out of the work area before the crew arrives. Large or heavy items – pianos, safes, built-ins – generally need a third party to move. If you’re not sure what’s in or out of scope for your project, confirm before signing the estimate.
Acclimation time depends on the product. Wood-based products and laminate typically want 48 to 72 hours in the room where they’ll be installed, at normal living temperature. Vinyl plank such as COREtec or LifeProof has its own guidance. The product instructions and the written estimate set the specific window for your job – ask your installer to note it in the quote.
Yes. Flooring Installation Enterprise offers free estimates in Enterprise. The written estimate sets the final price for the job. Call (844) 560-4386 for your exact quote – estimates are free.
It depends on your written estimate. Removing and reinstalling baseboards is common because new flooring looks cleaner underneath them, but it needs to be specified. If it’s not in the estimate, plan for you to remove and reinstall them yourself. If you are doing it yourself, label each piece so it goes back to the right room.
Often yes, especially if the work is limited to one or two rooms. Larger whole-home projects are easier with some time away from the work area – particularly during demo and during the adhesive cure phase. Check with your installer at the estimate about timing and re-entry windows.
It depends on the square footage, material, and scope. Carpet usually moves fastest, vinyl plank in a straightforward room can be quick, and tile or full hardwood refinishing takes longer. The written estimate should give you a working timeline. If you have a deadline, say so during the estimate visit and we’ll structure the schedule around it.
The Bottom Line
The prep work before a flooring project is not glamorous, but it’s the part you actually control. Clear the rooms, decide baseboards and door clearance before demo day, set the HVAC two days ahead, plan for pets and kids, and get acclimation and re-entry timelines in writing. Do that, and the crew starts on the floor instead of on your furniture. Do that, and the estimate is the document that anchors the whole job. If you’re planning a flooring project in Enterprise, we’d rather answer your prep questions at the estimate than after demo day. Call (844) 560-4386. We answer 24/7. Fast dispatch from 7am to 7pm, Sunday through Friday.
Whether your project runs through Enterprise neighborhoods or starts with a first room, the same prep rules apply: clear, plan, acclimatize, and communicate. Our technicians have up to 9 years of experience across carpet, tile, and hardwood refinishing, and we’ll walk your house with you before you commit. Get the free estimate first, and the install follows on schedule.
Written by the team at Flooring Installation Enterprise.